Gua Sha, also known as spooning, coining or skin scraping, has increasingly been mentioned by my friends over the past year. Based on their feedback and my never-ending pursuit of glowing skin, I decided to delve in and learn more. In this article, I want to break down exactly what it is, what the benefits are, and how to go about performing a Gua Sha facial at home, so you can consider adding it into your self-care routine at home.
What is Gua Sha?
Gua Sha is a traditional East Asian healing technique that involves using tools to scrape and rub the skin. The action causes slight bruising which can appear as purple or red spots, known as Sha, which results in a lack of inflammation.
What does Gua Sha treat?
Gua Sha was traditionally used to treat conditions involving blood stasis, localized pain, and inflammation. My friends have been raving about facial Gua Sha treatments they have been receiving. They profess the benefits include reduction of inflammation and puffiness in their faces.
What does medical research say?
A 2007 study cites, ‘The effect of Gua Sha treatment on the microcirculation of surface tissue’ posted in the peer-reviewed journal, ‘Explore: The Journal of Science & Healing’, looked at the effect of Gua Sha treatment on the microcirculation of surface tissue. The study concluded that Gua Sha treatment led to a fourfold increase in microcirculation for 7.5 minutes following treatment and a significant increase in surface microcirculation during the entire 25 minutes of the study period following treatment. This study had a small sample size (11) and the journal itself has its critics. However, the results do go some way to support anecdotal stories of Gua Sha improving blood flow and reducing swelling in targeted areas.
How is Gua Sha practiced?
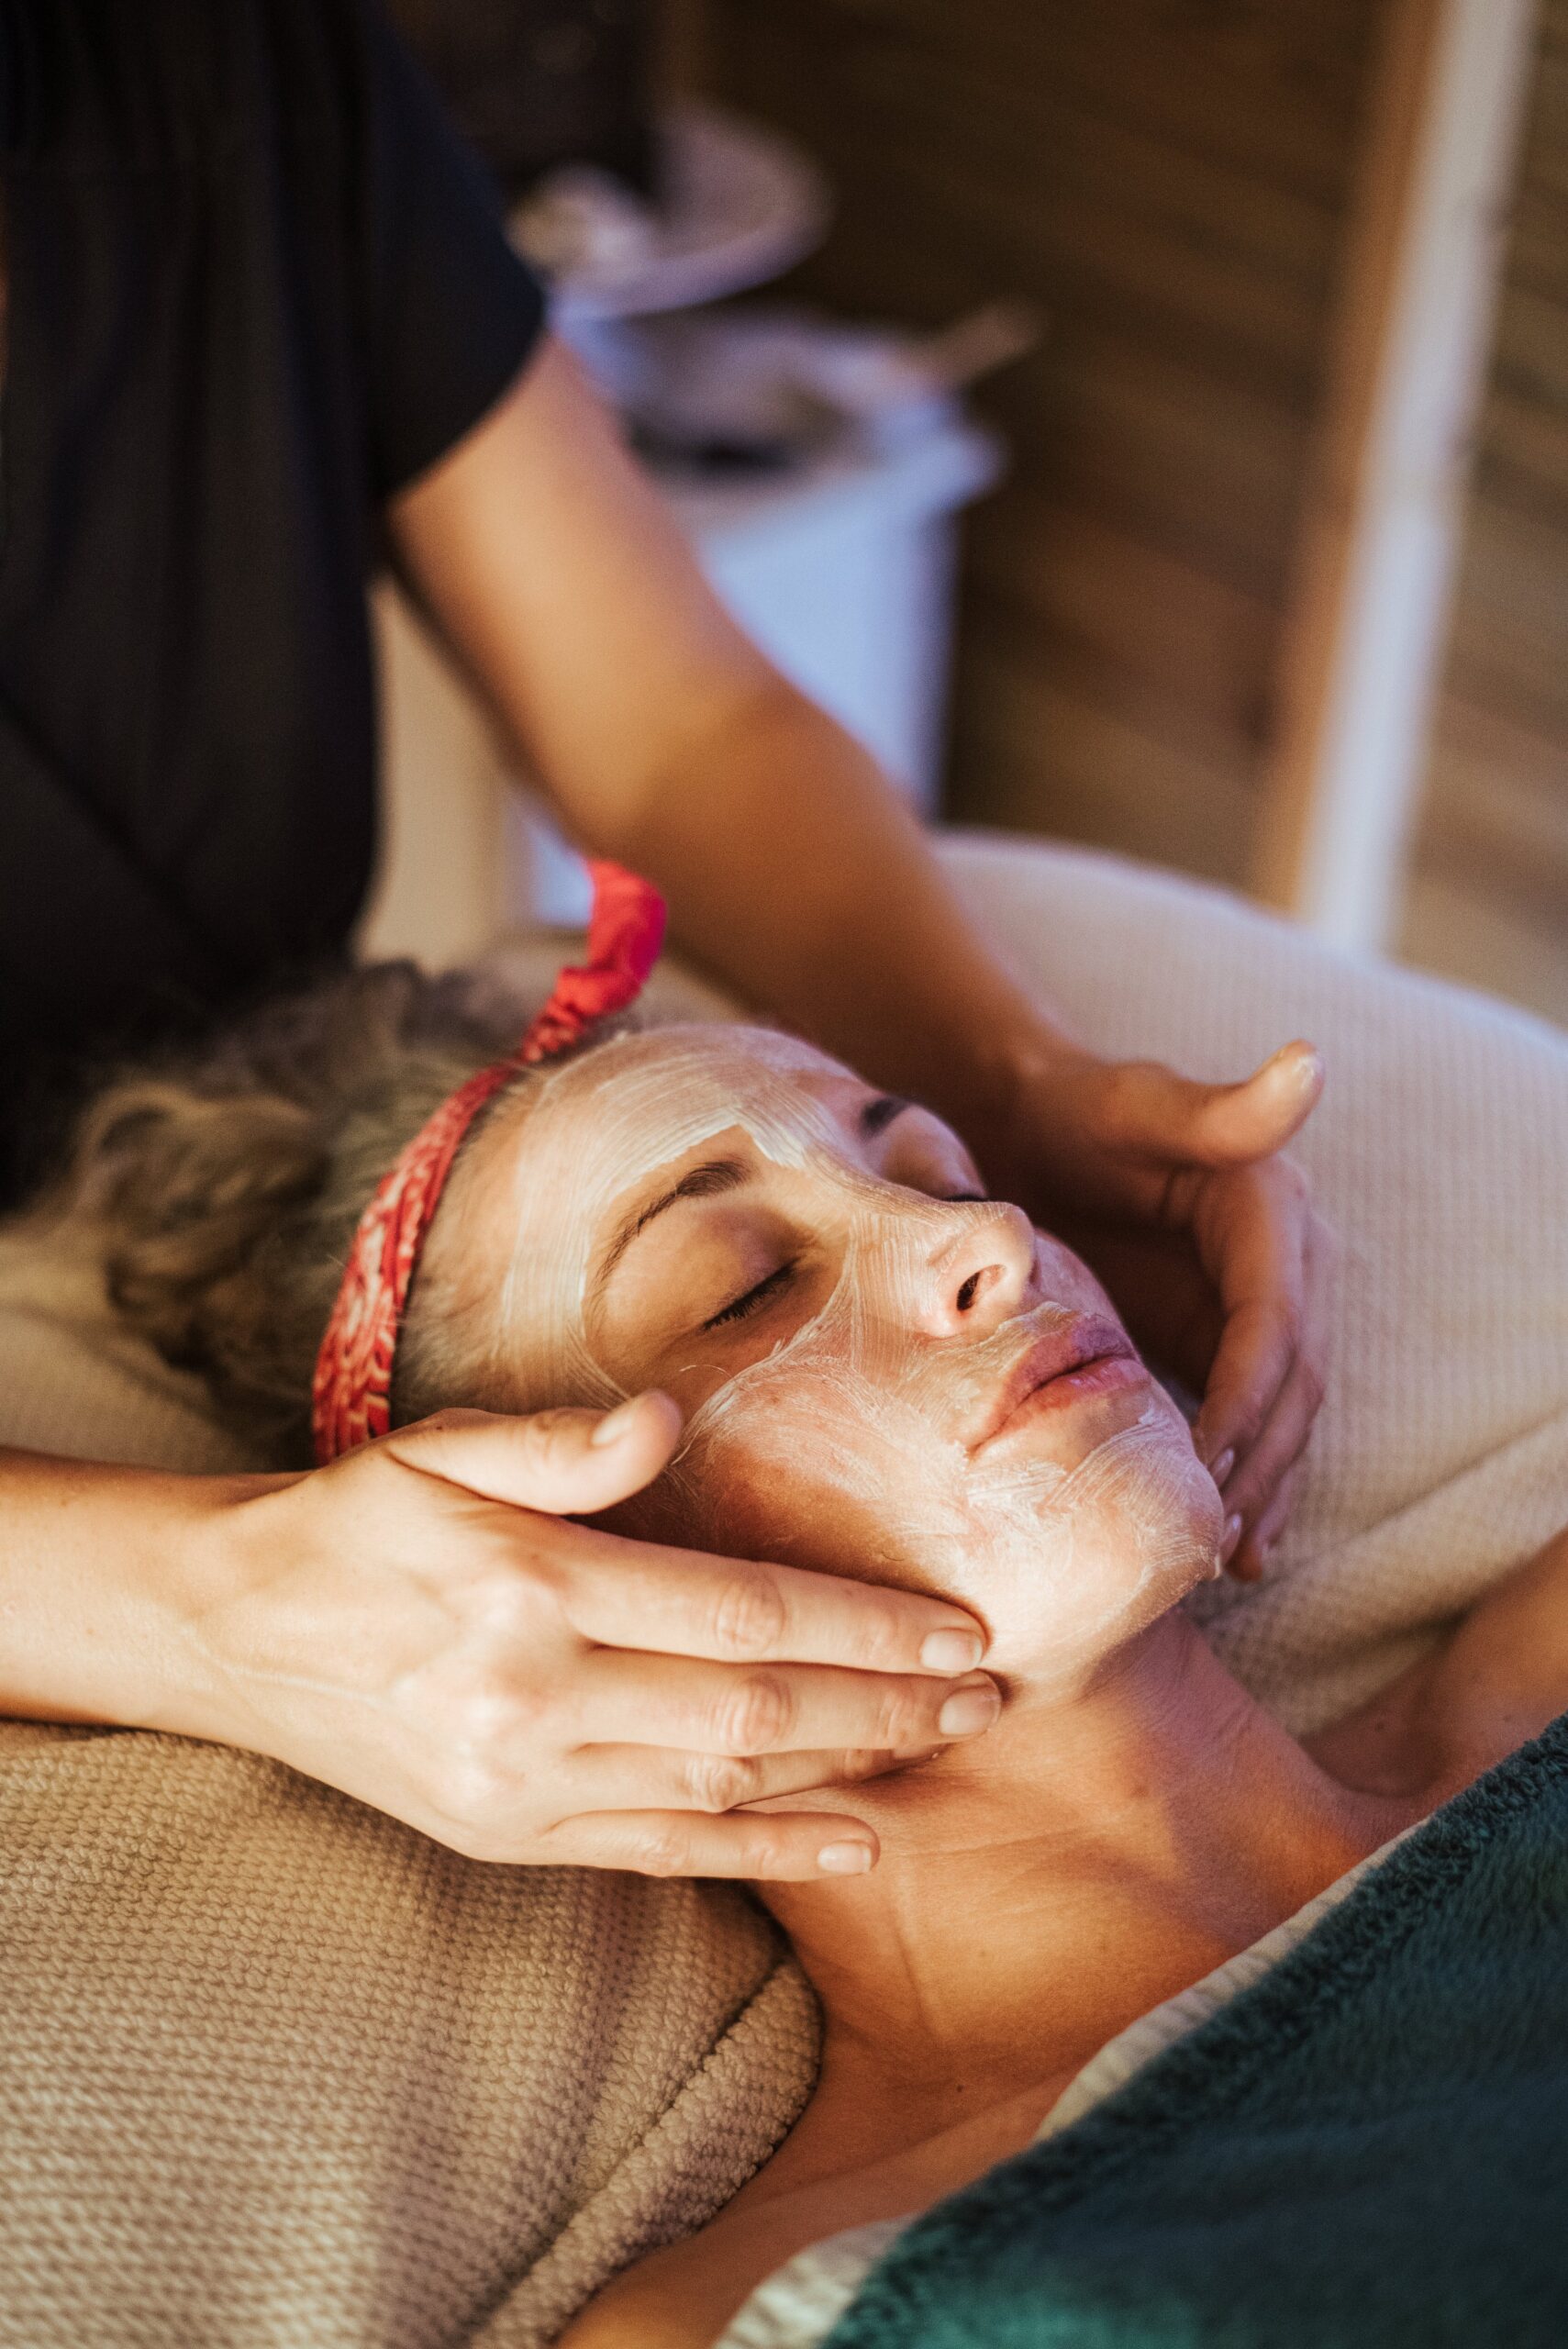
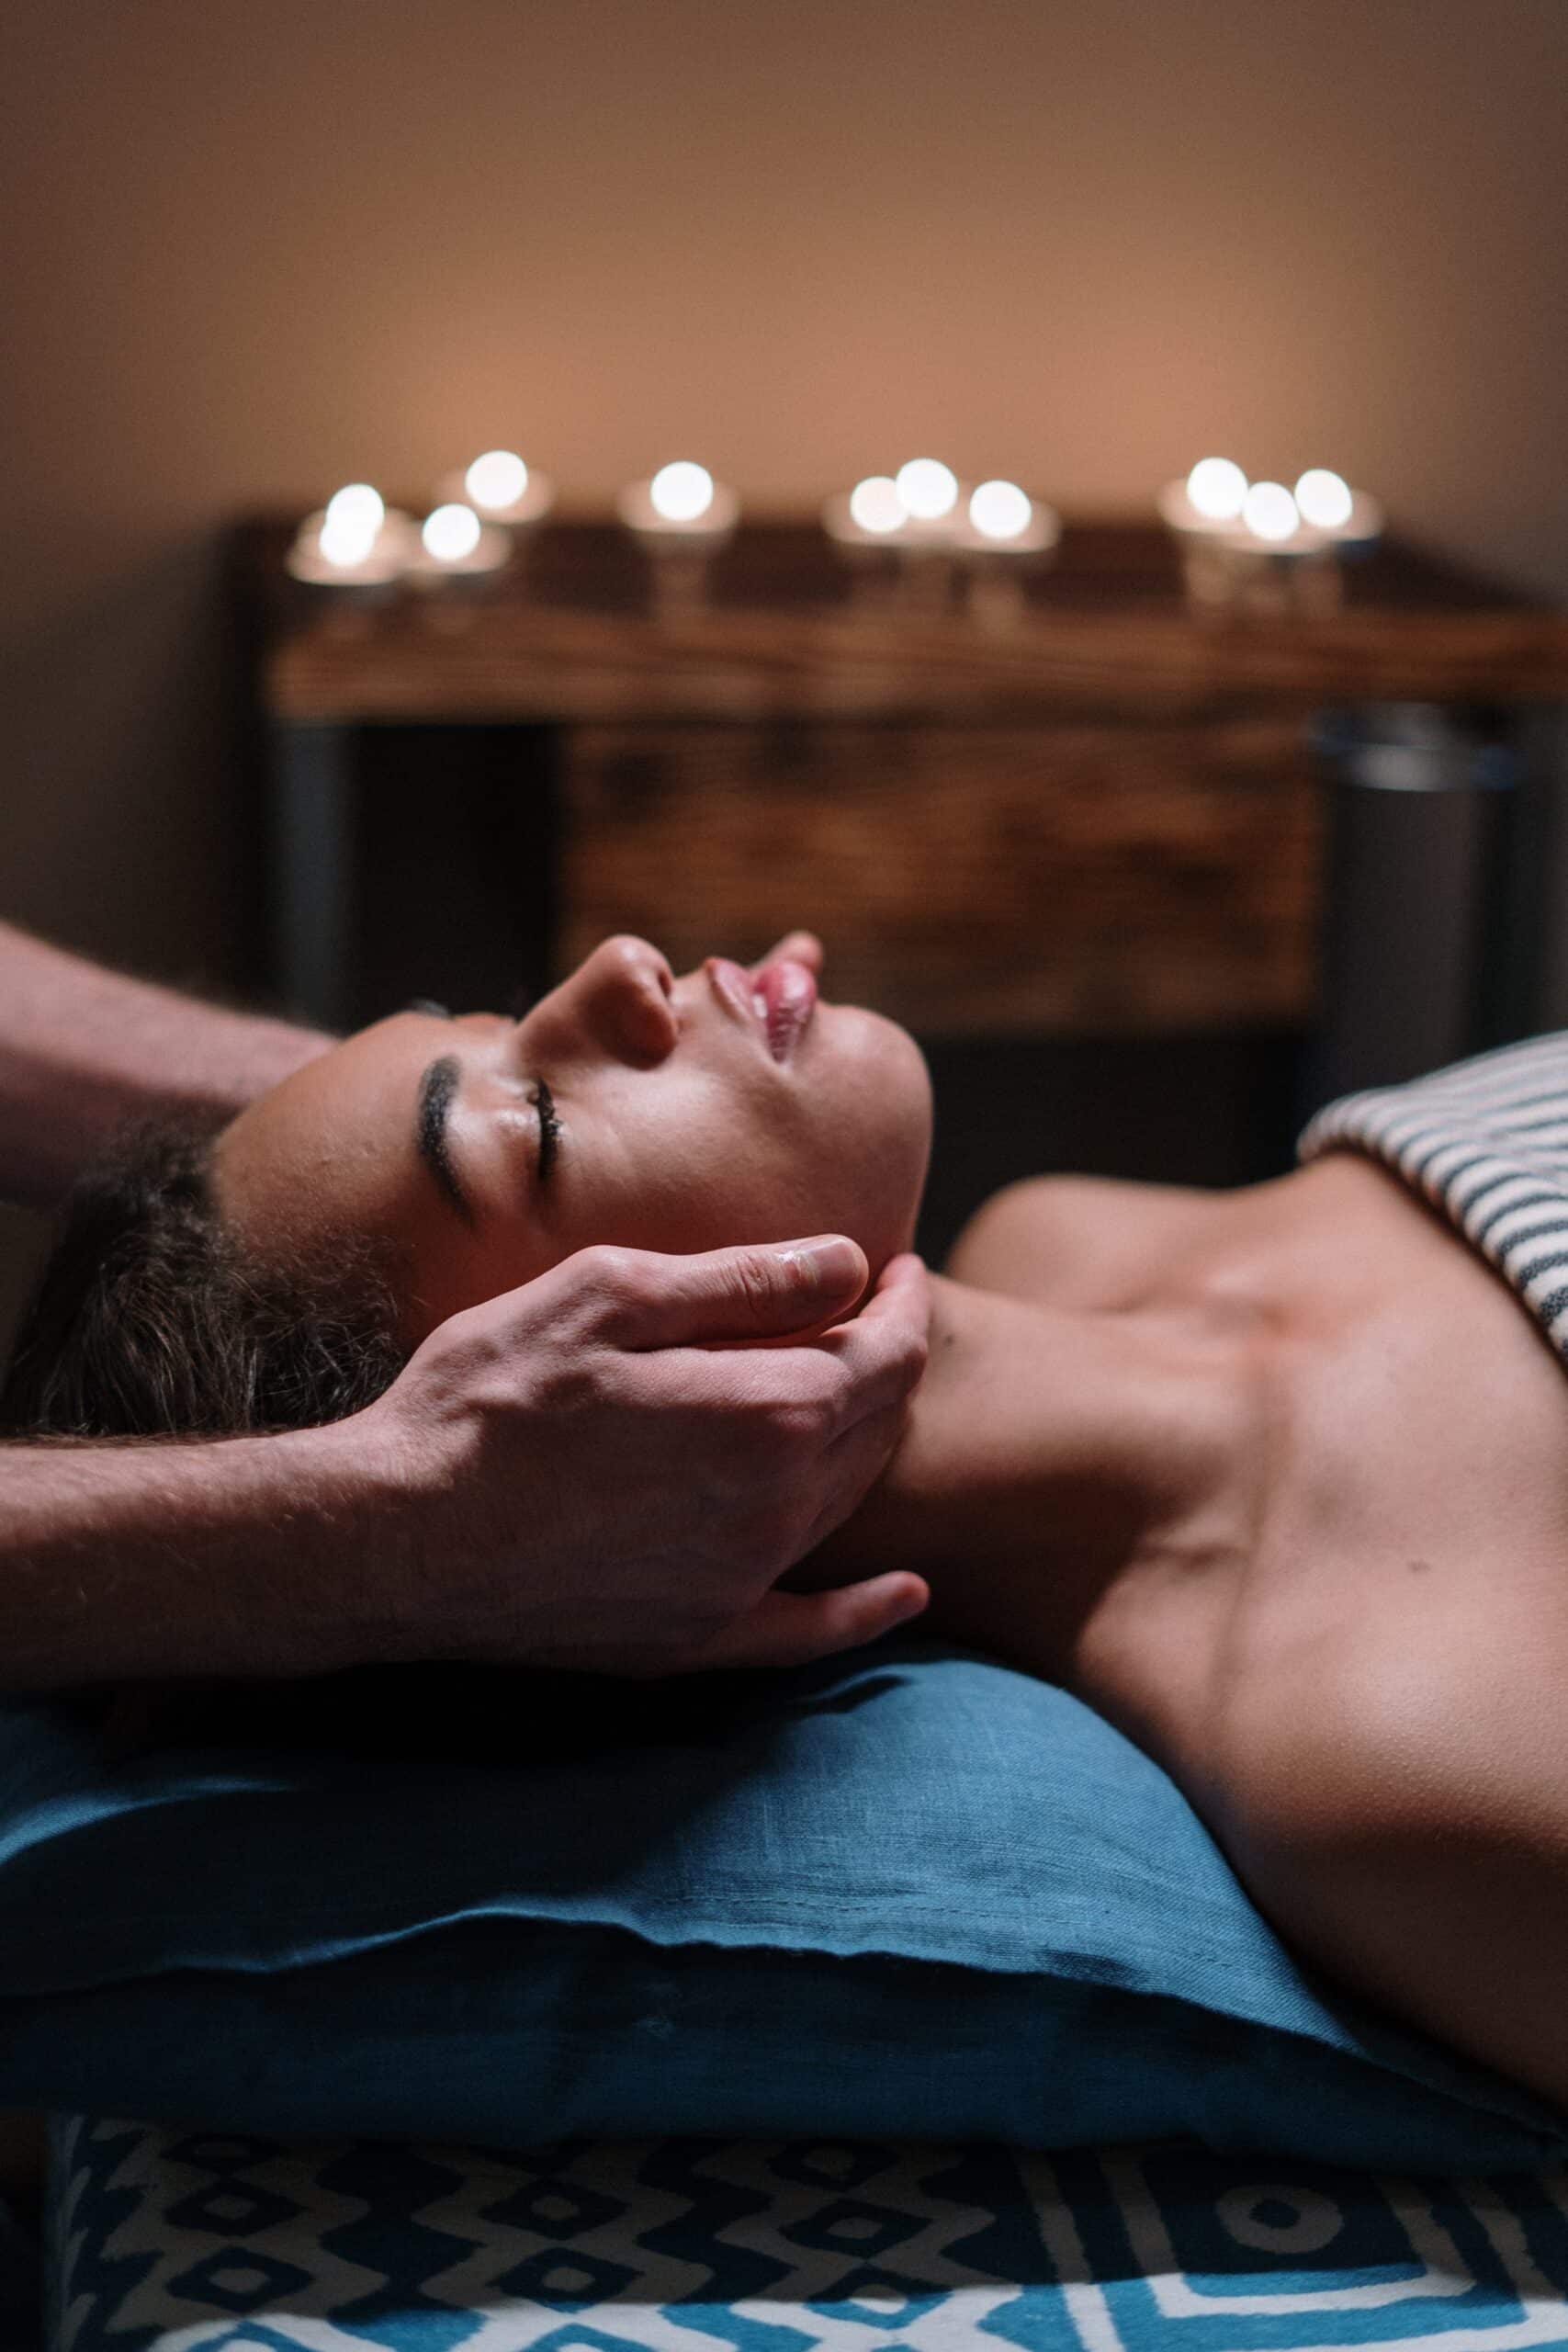
Traditionally, Gua Sha is applied by a licensed therapist. The therapist will lubricate a targeted area of skin before using tools to scrape and rub until slight bruising occurs. As it has made its way into the western beauty routine, more people are buying the tools to complete their own treatments at home. Gua Sha facials require a softer touch and, as a result, you should not be causing any bruising. Most at-home treatments focus on reducing swelling and improving the blood circulation of the blood vessels in the face.
What tools will I need?
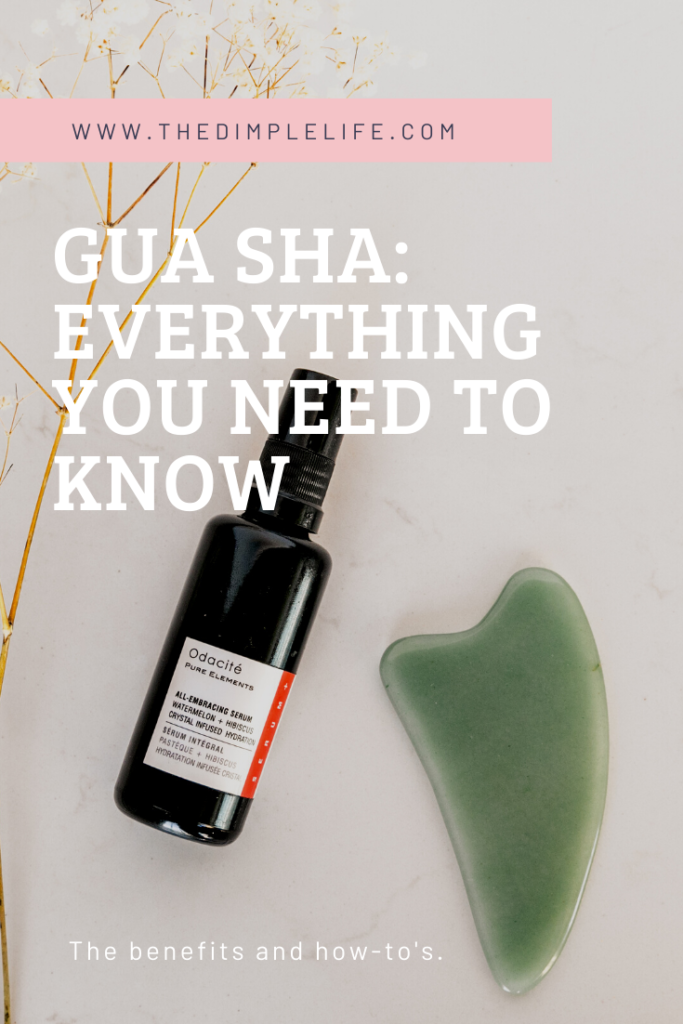
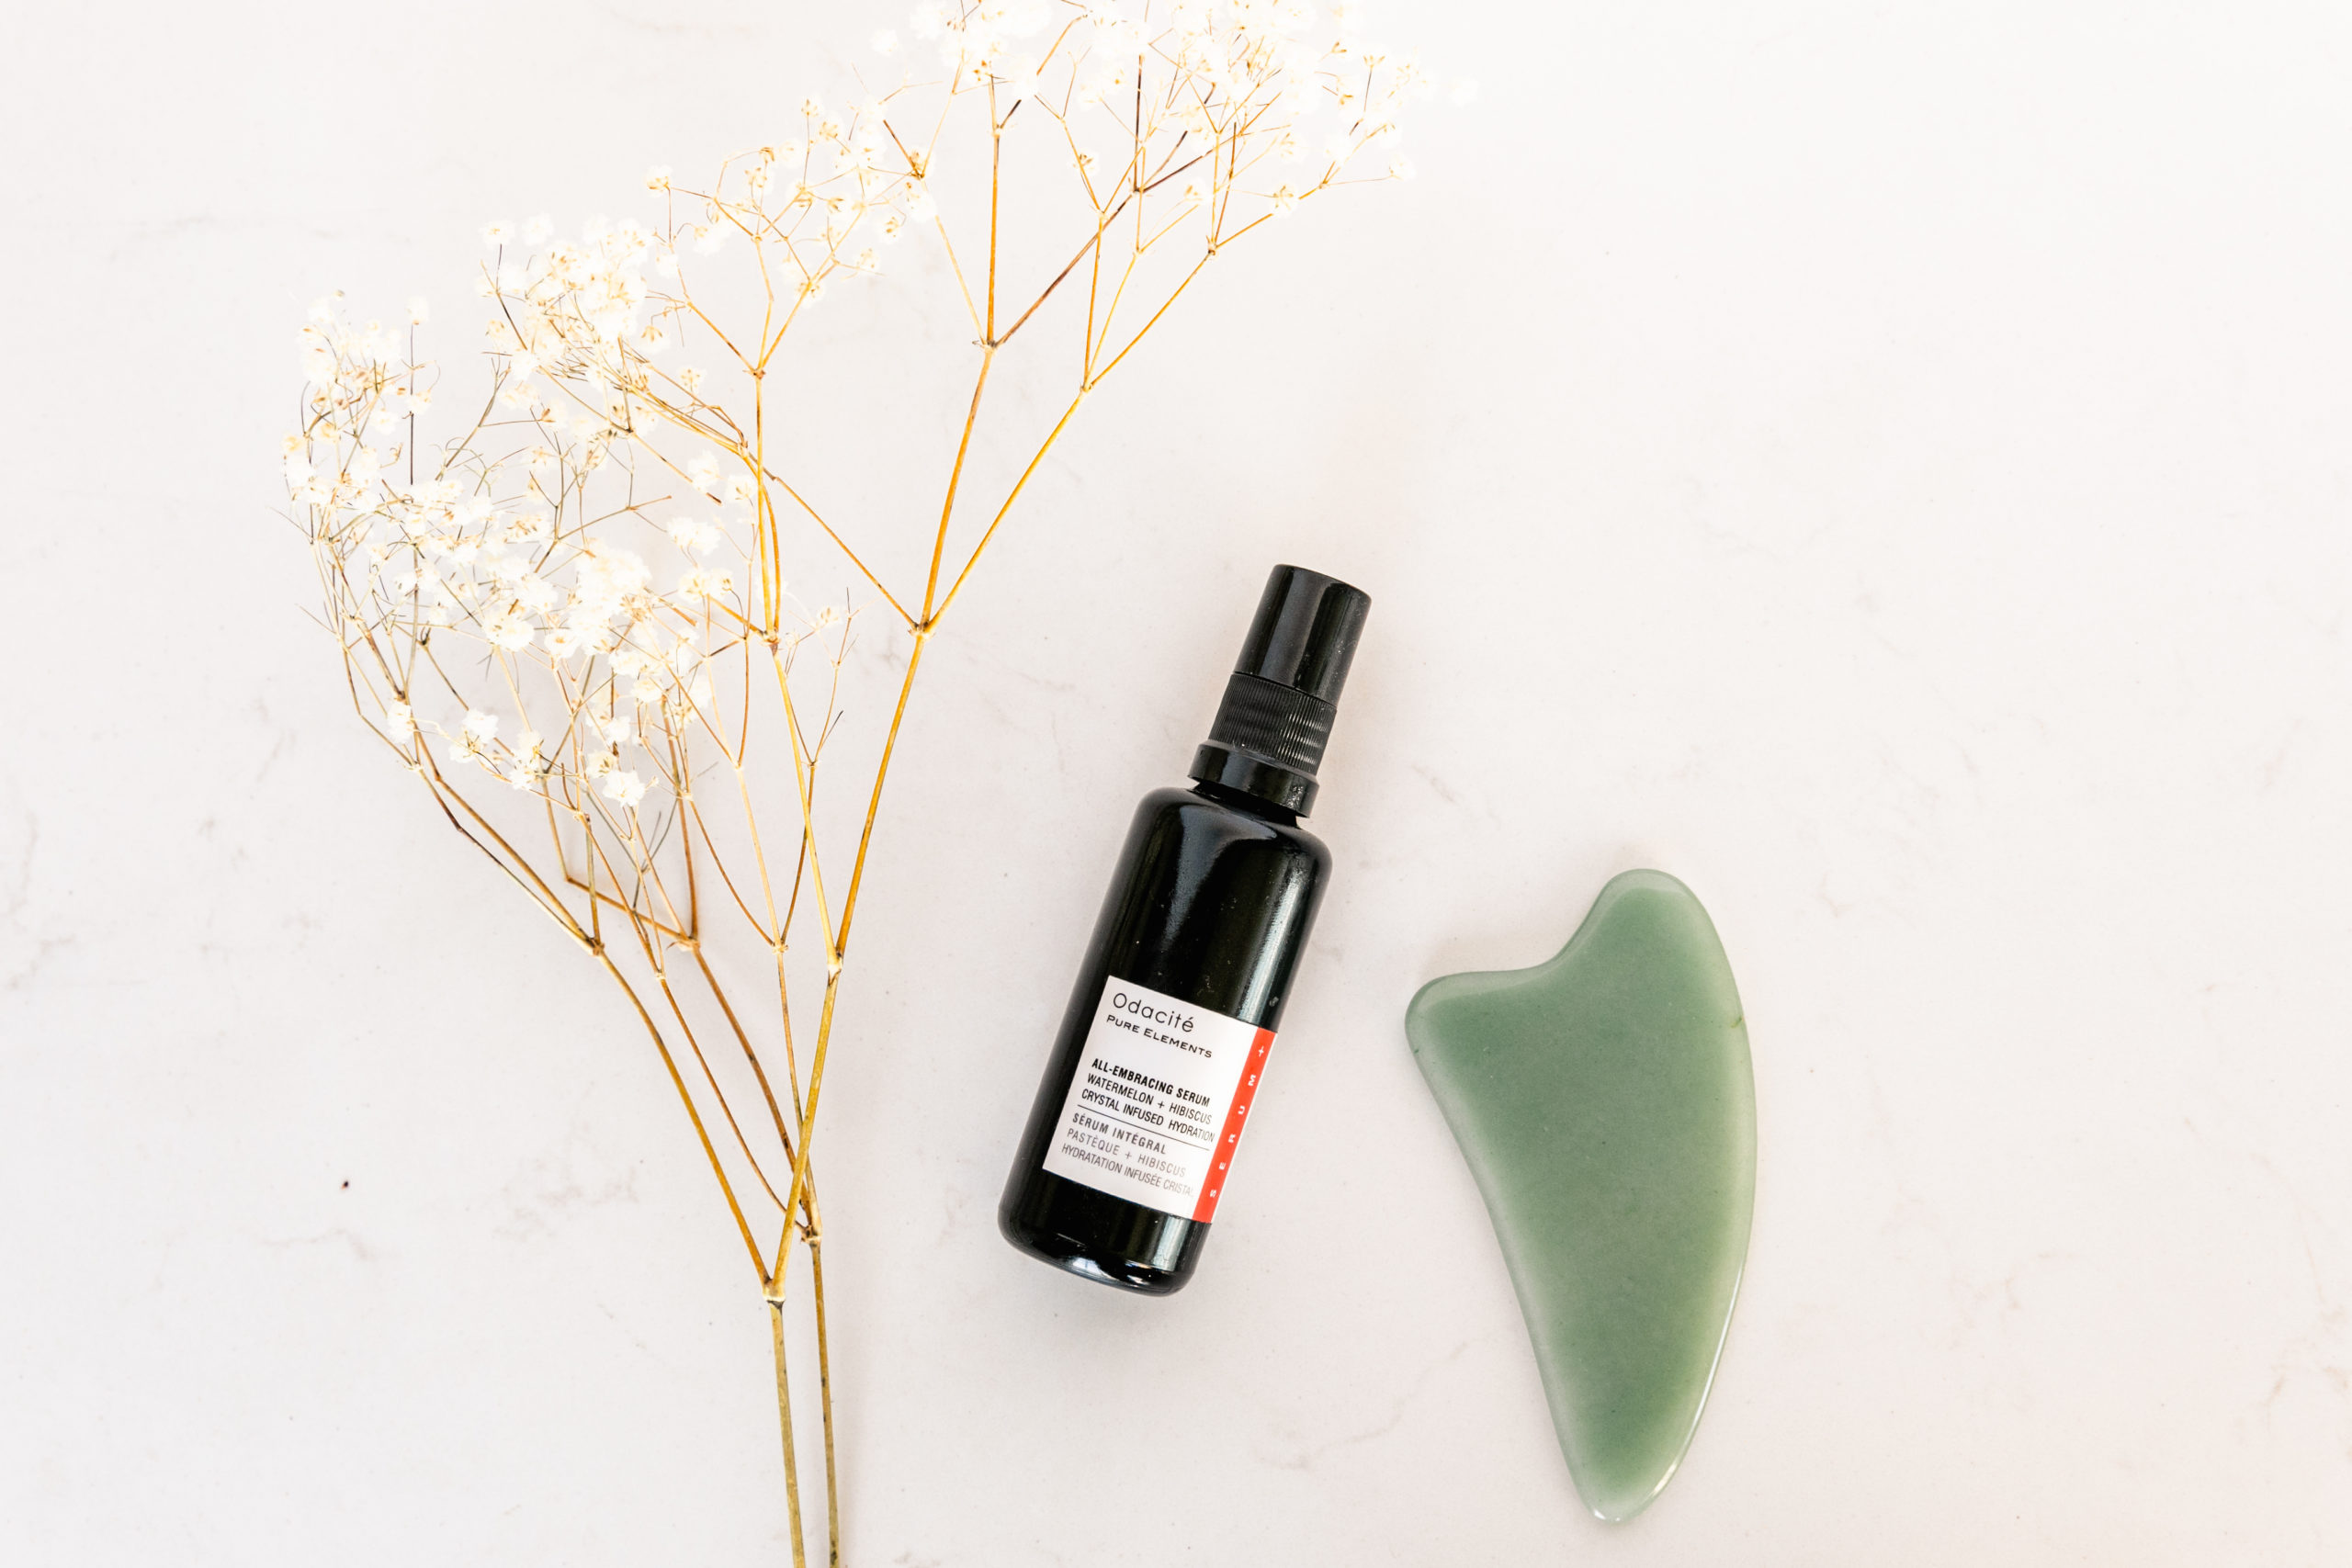
Traditional Gua Sha tools are made up of a range of items, including; chinaware, silver coins, bamboo plates, bain stones, jade, and buffalo horn. You can still make use of any rounded object, like a coin, but specialist jade or bain stone products are recommended. These are designed for Gua Sha, are relatively inexpensive, and the recommended modern tools to purchase. As well as a selection of bain or jade scraping tools you will also need to purchase some massage oil or lubricant. Make sure to purchase one specially made to be applied to the face if that is your targeted treatment.
How do I perform a simple Gua Sha facial?
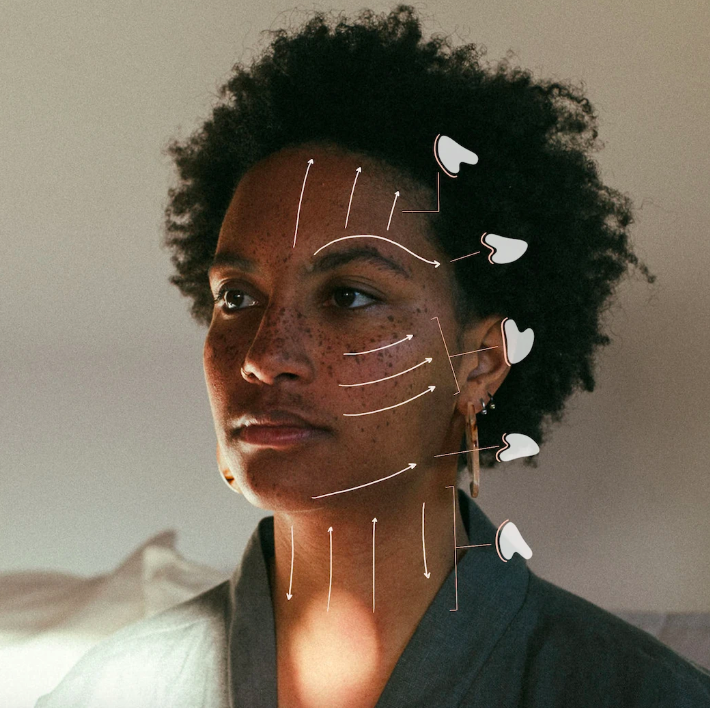
Image Credit: Vitruvi
I have laid out a simple 20-step Gua Sha facial that you could add to your beauty routine.
- Wash your hands, face and facial tool
- Warm-up your facial tool by rubbing it between your palms
- Apply facial oil
- Start from the upper center of your forehead and gently stroke the tool left in an arcing motion following your hairline across your forehead
- Move down half an inch from the upper center of your forehead and repeat the same motion
- Continue down your forehead repeating this stroke with your final stroke being slightly above your eye
- Now start from the upper middle of your forehead and then repeat steps 4 to 6 again but working towards the right edge of your forehead
- On both sides make two strokes from the outside corners of your eyes towards the tops of your ears
- Make two strokes down both sides of your nose starting from the bridge
- Make one stroke from the bridge of your nose straight up until you reach your hairline
- Starting from just below the inside of your left eye follow the curve of your eye socket ending when you reach your hairline level with the top of your ear
- Move down half an inch and repeat the same motion
- Continue down your cheek with your final stroke starting from the outside of your left nostril with the stroke finishing close to your ear lobe
- Now repeat steps 11 to 13 starting from below the inside of your right eye working towards the top of your right ear
- Start from the center between your nose and lips, gently stroke towards the bottom of your left ear
- Repeat this motion moving right
- Start from the center of your chin, stroke left following your jawline to the bottom of your left ear
- Repeat this motion moving right.
- Start from the left side of your neck by your collarbone and stroke straight up until you reach your jawline. Moving half an inch right each time continue this stroke until you reach the far right side of your neck.
- Wash your face with cold water and enjoy the post-facial bliss!
Hopefully, I have broken down the basics of Gua Sha and will have you thinking about giving the at-home facial a go yourself. As with (nearly) everything beauty-related it is my recommendation to try it out yourself and see how the results come out for you.

Kaitlin is a travel writer and marketing consultant. On any given day, you can find her surfing, reading, and/or on the eternal search for the cutest cafes (with tons of power sockets, of course).













show comments